Challenger II - Wing Assembly - Strut Attach Brackets
These are some details of the Strut Attach Brackets
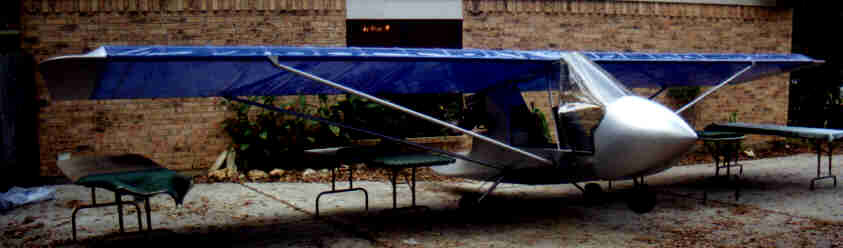
The fuselage with wings attached. The daylight got away before we could even start the jury struts!
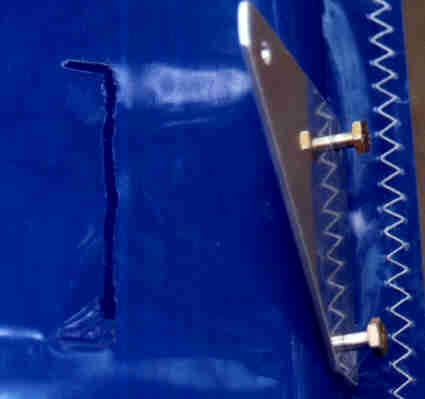
 Ed Richardson and
"Marshal" in Durant, Oklahoma came up with a fixture to properly
locate the "split" in the fabic for the inside attach bracket.
Notice that the outer bracked is held temporarily in place and at the porper
angle to locate the inboard brackets slit. The fixture is exactly the width
of the rear or front spar. It also has marks on it to give the proper length
of the slit.
Ed Richardson and
"Marshal" in Durant, Oklahoma came up with a fixture to properly
locate the "split" in the fabic for the inside attach bracket.
Notice that the outer bracked is held temporarily in place and at the porper
angle to locate the inboard brackets slit. The fixture is exactly the width
of the rear or front spar. It also has marks on it to give the proper length
of the slit.
----
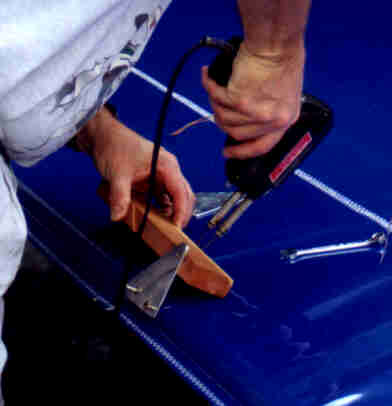
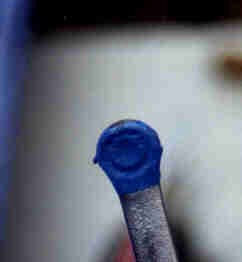
 The
slit is cut with the soldering iron to make a "C" (reversed in
this case) shaped slit. This provided more than enuff room to slide in
the wrench and tighten.
The
slit is cut with the soldering iron to make a "C" (reversed in
this case) shaped slit. This provided more than enuff room to slide in
the wrench and tighten.
----
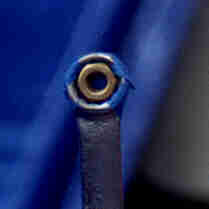
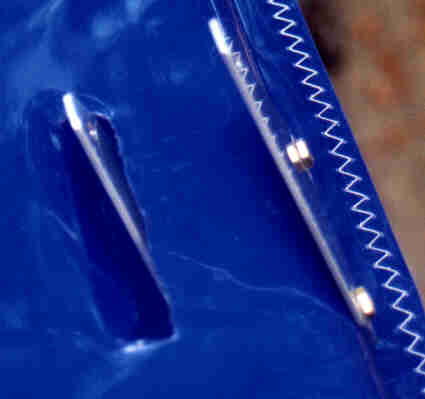 The
bracket is now in the slit awaiting the installation of the two nylock
nuts. The nut is impossible to install and tighten without the slit extensions.
The
bracket is now in the slit awaiting the installation of the two nylock
nuts. The nut is impossible to install and tighten without the slit extensions.
 The
wrench is covered with masking tape to hold the nut in the wrench while
lowering the nut into the slit. I installed the brackets backwards the
first time and had to remove them and reinstall, and I never lost a nut!!
The wrench is held over the bolt and then bolt is turned to start. It took
a little "fiddling", but all were installed successfully. Return
to Challenger II Page
The
wrench is covered with masking tape to hold the nut in the wrench while
lowering the nut into the slit. I installed the brackets backwards the
first time and had to remove them and reinstall, and I never lost a nut!!
The wrench is held over the bolt and then bolt is turned to start. It took
a little "fiddling", but all were installed successfully. Return
to Challenger II Page